Home> Home Maintenance
Home Maintenance
Don’t leave the cleaning up for special occasions – give your house the fresh new look it deserves by sprucing up all nooks and crannies today! From cleaning to recycling, here are all the home maintenance tips you need to get things sorted out and in order.

By: Chloe Davis • Home Maintenance
12 Amazing Ihome Isp6X Smart Plug For 2024
The 12 Amazing Ihome Isp6X Smart Plug For 2023 is a revolutionary device that promises to transform your home into a smart and efficient space. With its cutting-edge technology and user-friendly features, this smart plug enables you to control and automate your electrical devices, making your life easier and more...
Read More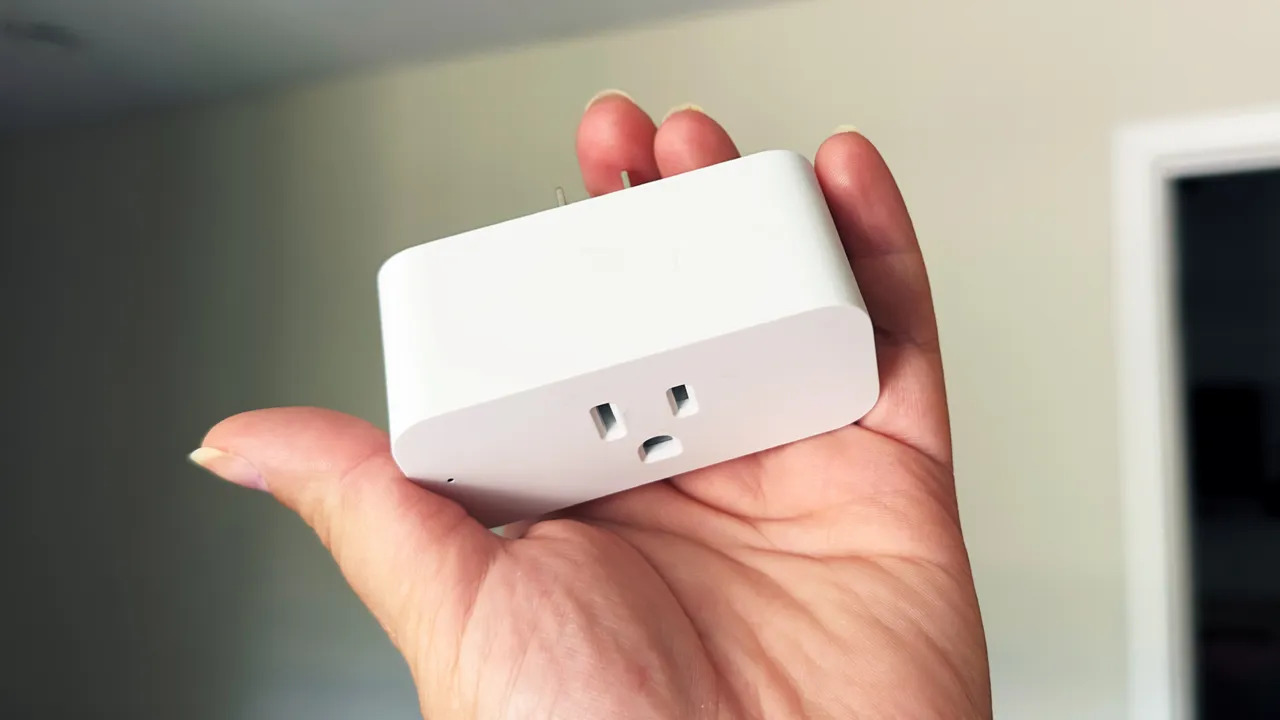
By: Henry Campbell • Home Maintenance
8 Amazing Smart Plug For Tv For 2024
Introducing the increasingly popular device that has revolutionized home automation – the smart plug for TVs. As we look ahead to 2023, advancements in technology continue to push the boundaries of what is possible, and these amazing smart plugs for TVs are no exception. With their ability to control and...
Read More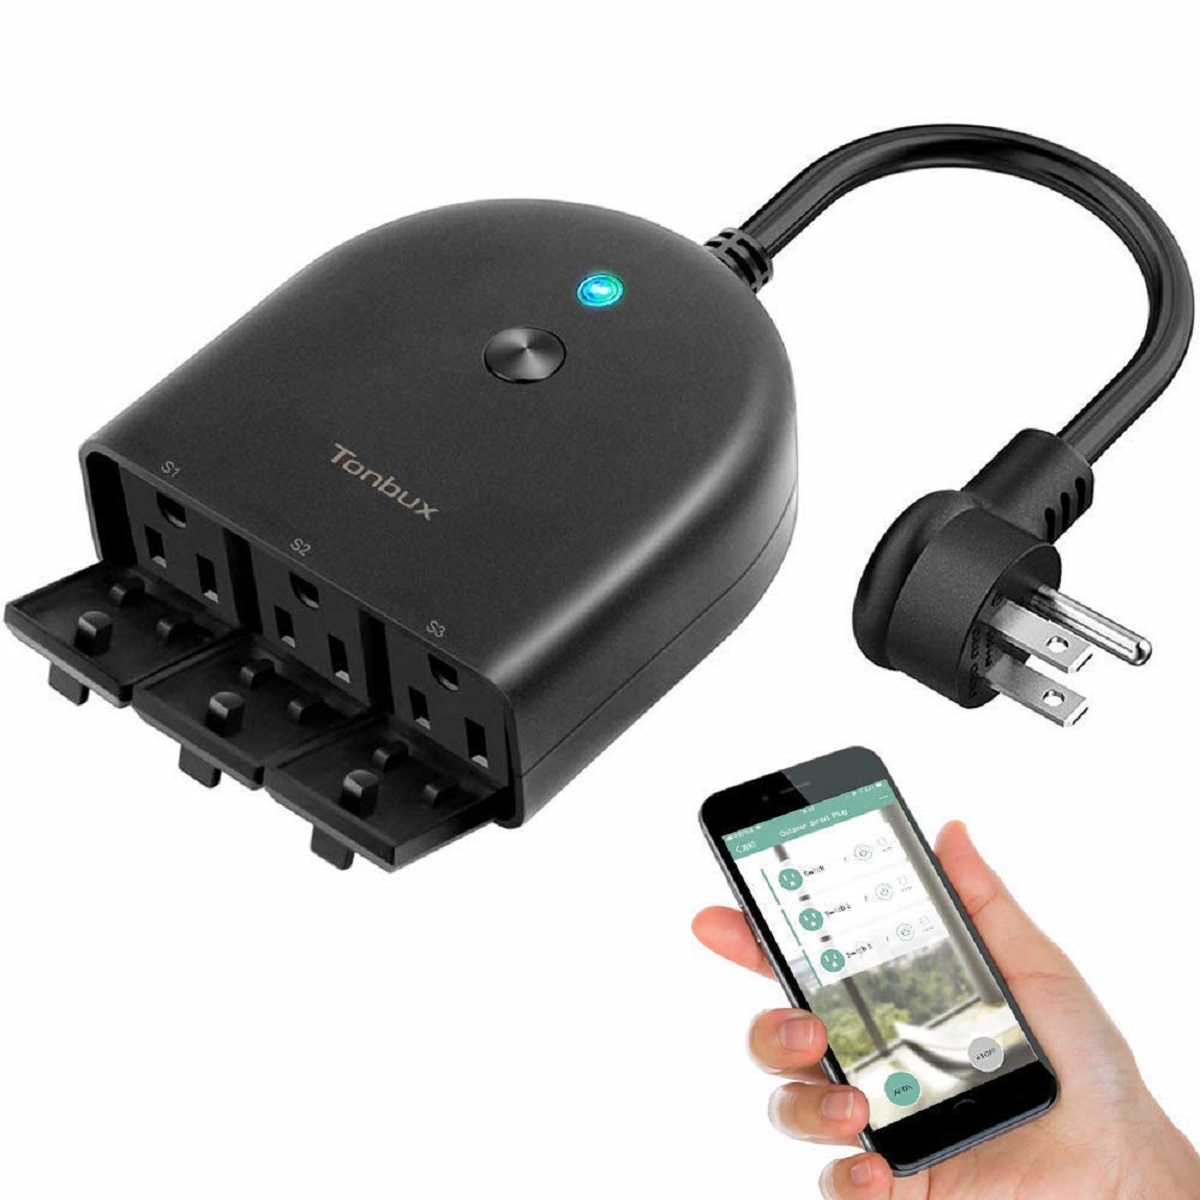
By: Amelia Brooks • Home Maintenance
10 Best Tonbux Smart Plug For 2024
Introducing the 10 Best Tonbux Smart Plug for 2023. In today's fast-paced world, incorporating smart technology into our daily lives has become essential. Tonbux, a renowned brand in the smart home industry, offers a range of top-notch smart plugs designed to enhance convenience and efficiency. From controlling your home appliances...
Read More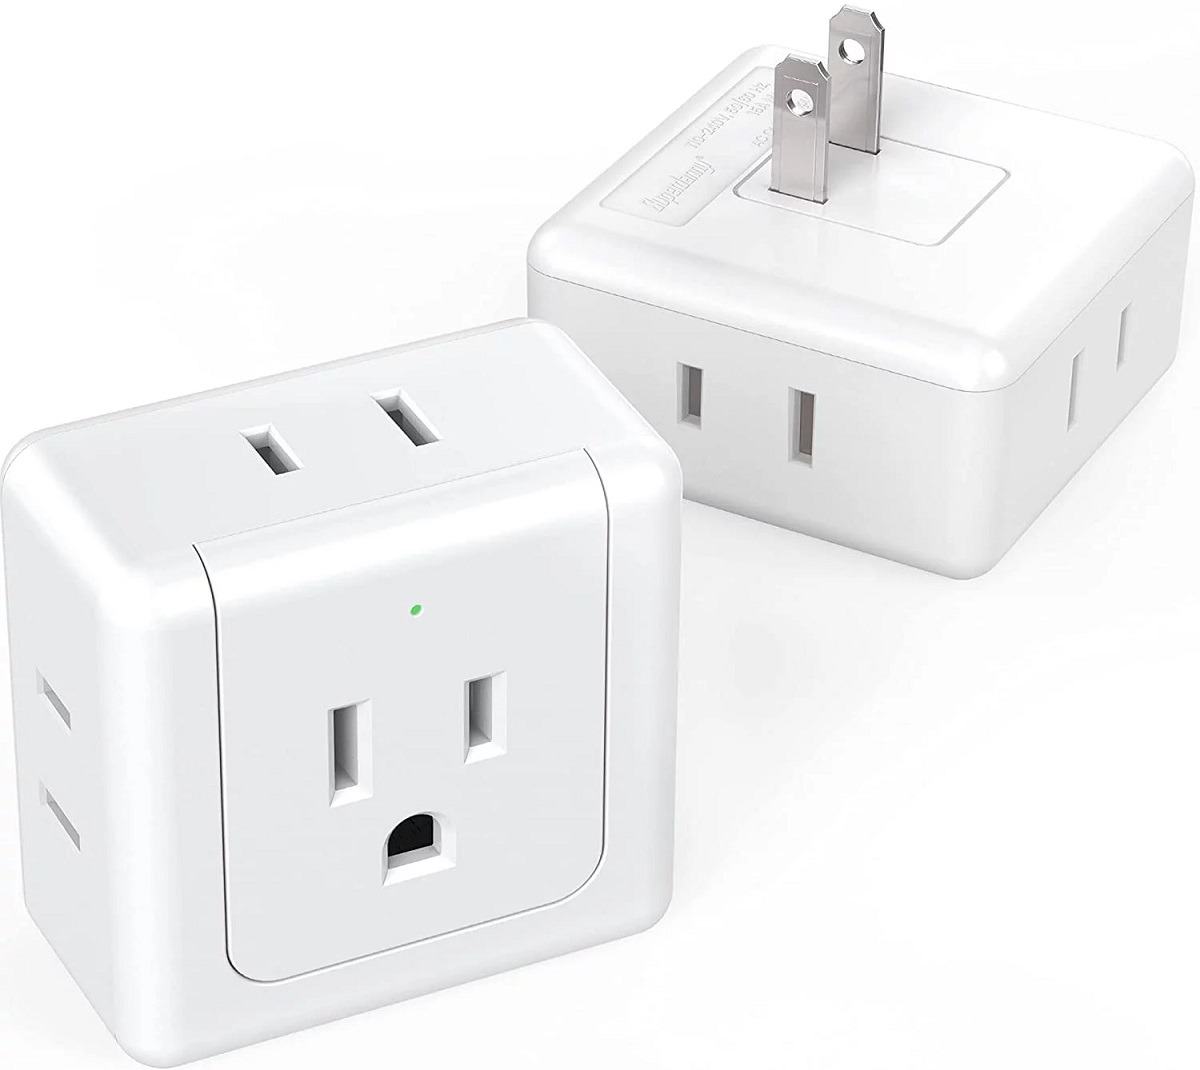
By: Ethan Hayes • Home Maintenance
12 Best Two Prong Smart Plug For 2024
Introducing the 12 Best Two Prong Smart Plug for 2023, a comprehensive guide to the top-rated smart plugs that will revolutionize your everyday living. In today's technology-driven world, these smart plugs are designed to offer convenience, control, and energy efficiency like never before. With their two-prong design, they seamlessly fit...
Read More
By: Benjamin Parker • Home Maintenance
8 Best Taco Smart Plug For 2024
Introducing the 8 Best Taco Smart Plug For 2023! Are you tired of manually controlling your home appliances? Look no further as we present to you the finest selection of smart plugs specifically designed for your convenience. In an increasingly connected world, these top-notch devices offer a seamless experience of...
Read More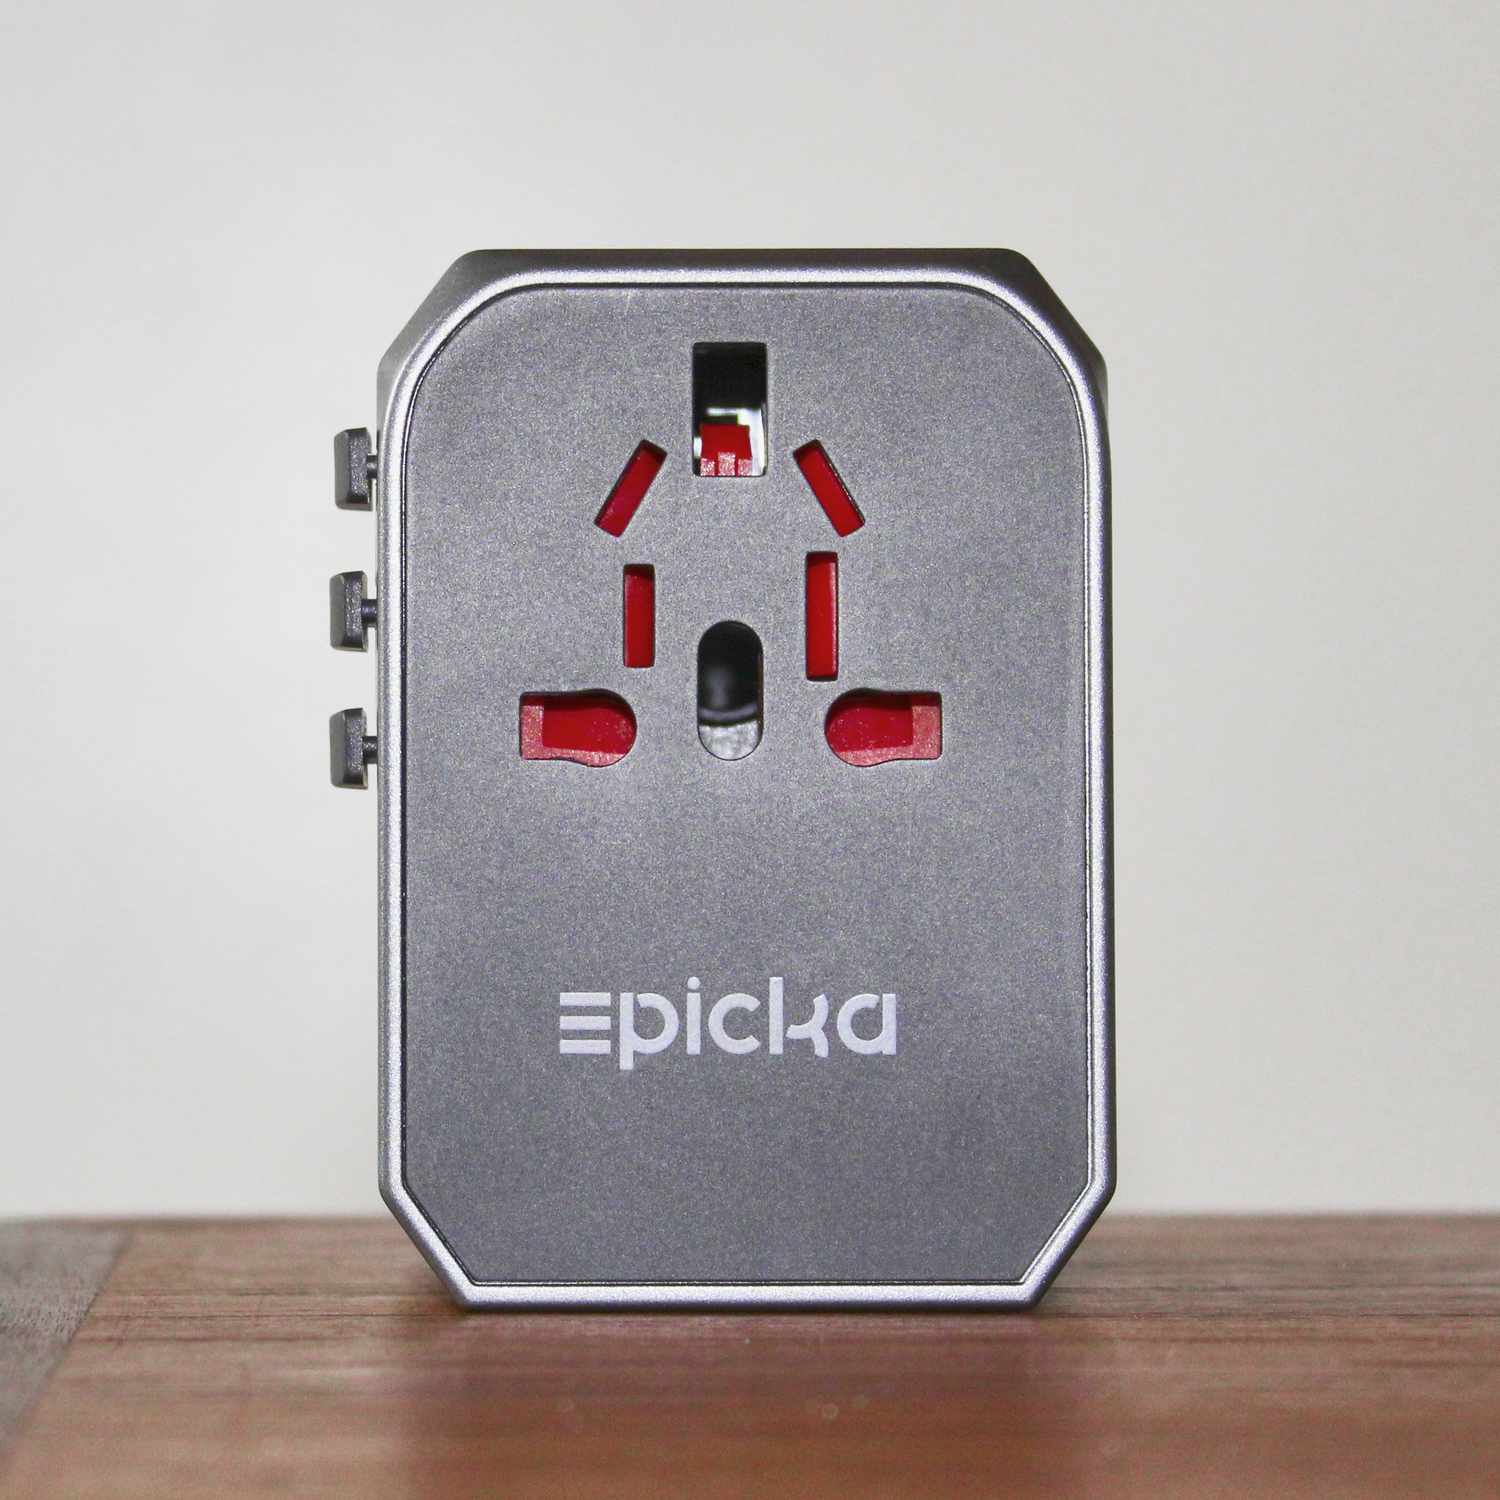
By: William Harrison • Home Maintenance
8 Amazing Epicka Smart Plug For 2024
Introducing the 8 Amazing Epicka Smart Plugs for 2023, where convenience and efficiency meet modern technology. In today's fast-paced world, having the ability to control your appliances and devices remotely has become an essential part of our daily lives. With Epicka Smart Plugs, you can easily turn your home into...
Read More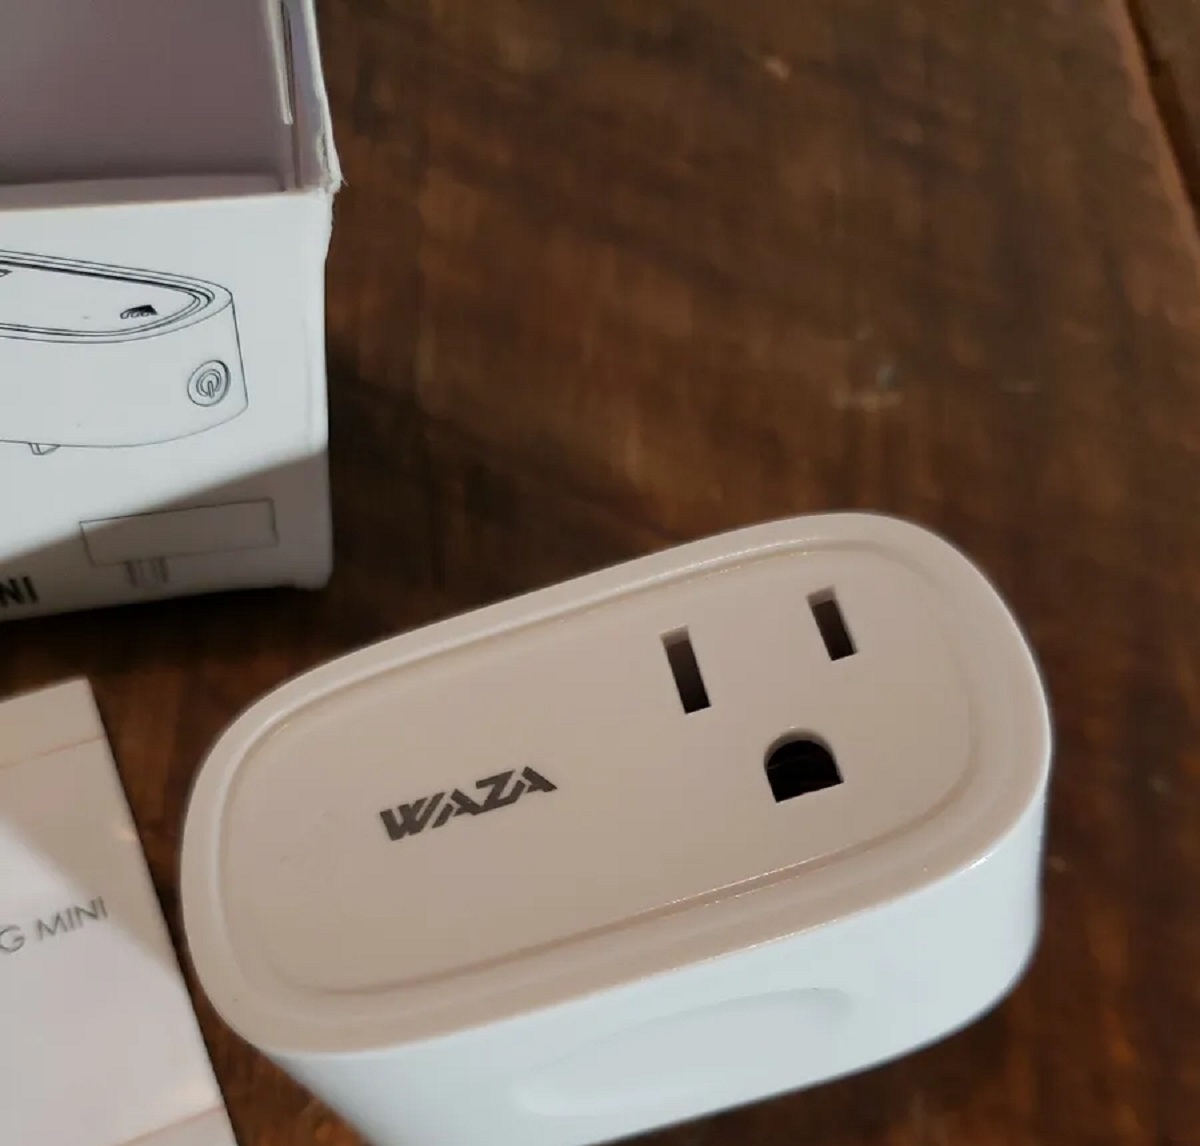
By: Chloe Davis • Home Maintenance
12 Best Waza Smart Plug For 2024
Introducing the 12 Best Waza Smart Plug for 2023 – a comprehensive guide to the top smart plug options available in the upcoming year. In an era where smart home technology is rapidly advancing, the Waza brand stands out for its innovation and reliability. With these smart plugs, you can...
Read More
By: Sophia Turner • Home Maintenance
13 Amazing Feit Smart Plug For 2024
Introducing the 13 Amazing Feit Smart Plug for 2023. In our rapidly advancing technological age, the demand for smart home devices continues to rise. Feit, a reliable and innovative brand known for its cutting-edge solutions, has introduced the ultimate smart plug. Delivering convenience and efficiency at its finest, these plugs...
Read More
By: Amelia Brooks • Home Maintenance
14 Amazing Xiaomi Mi Smart Plug For 2024
Introducing the 14 Amazing Xiaomi Mi Smart Plug for 2023 – your ultimate guide to the latest and most innovative smart plugs offered by Xiaomi. As a content writer expert, I have thoroughly researched and tested these smart plugs to provide you with comprehensive insights and recommendations. Whether you're looking...
Read More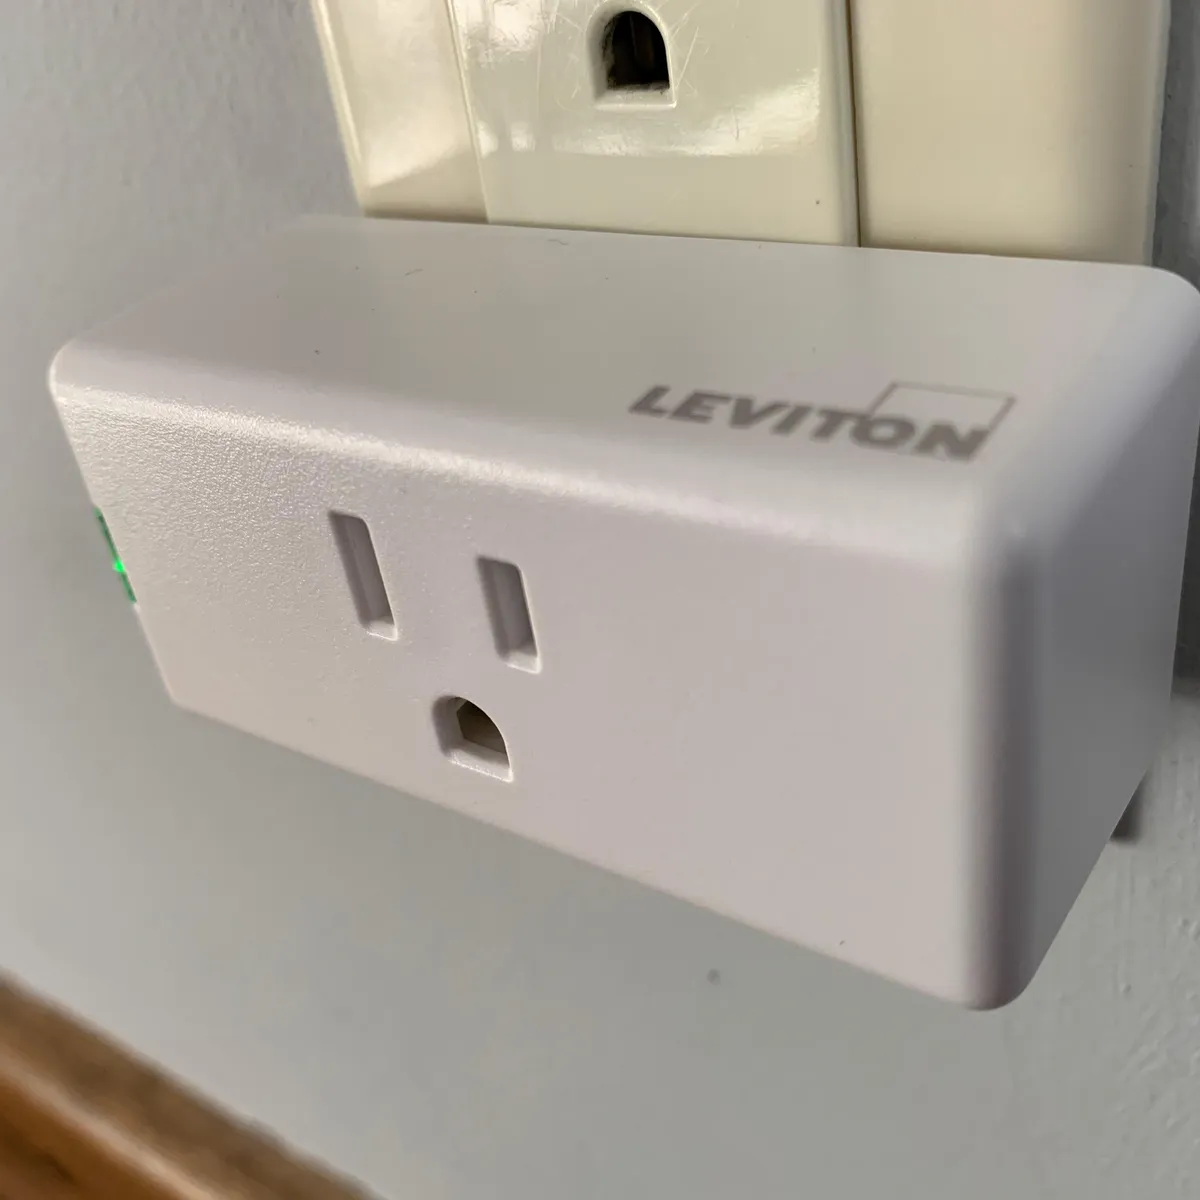
By: Emily Roberts • Home Maintenance
9 Amazing Leviton Decora Smart Plug-In Outlet For 2024
Introducing the 9 Amazing Leviton Decora Smart Plug-In Outlet For 2023. In today's rapidly advancing digital age, home automation has become more accessible and convenient than ever before. Leviton, a renowned brand known for its cutting-edge technology and superior functionality, has taken smart plug-in outlets to the next level. With...
Read More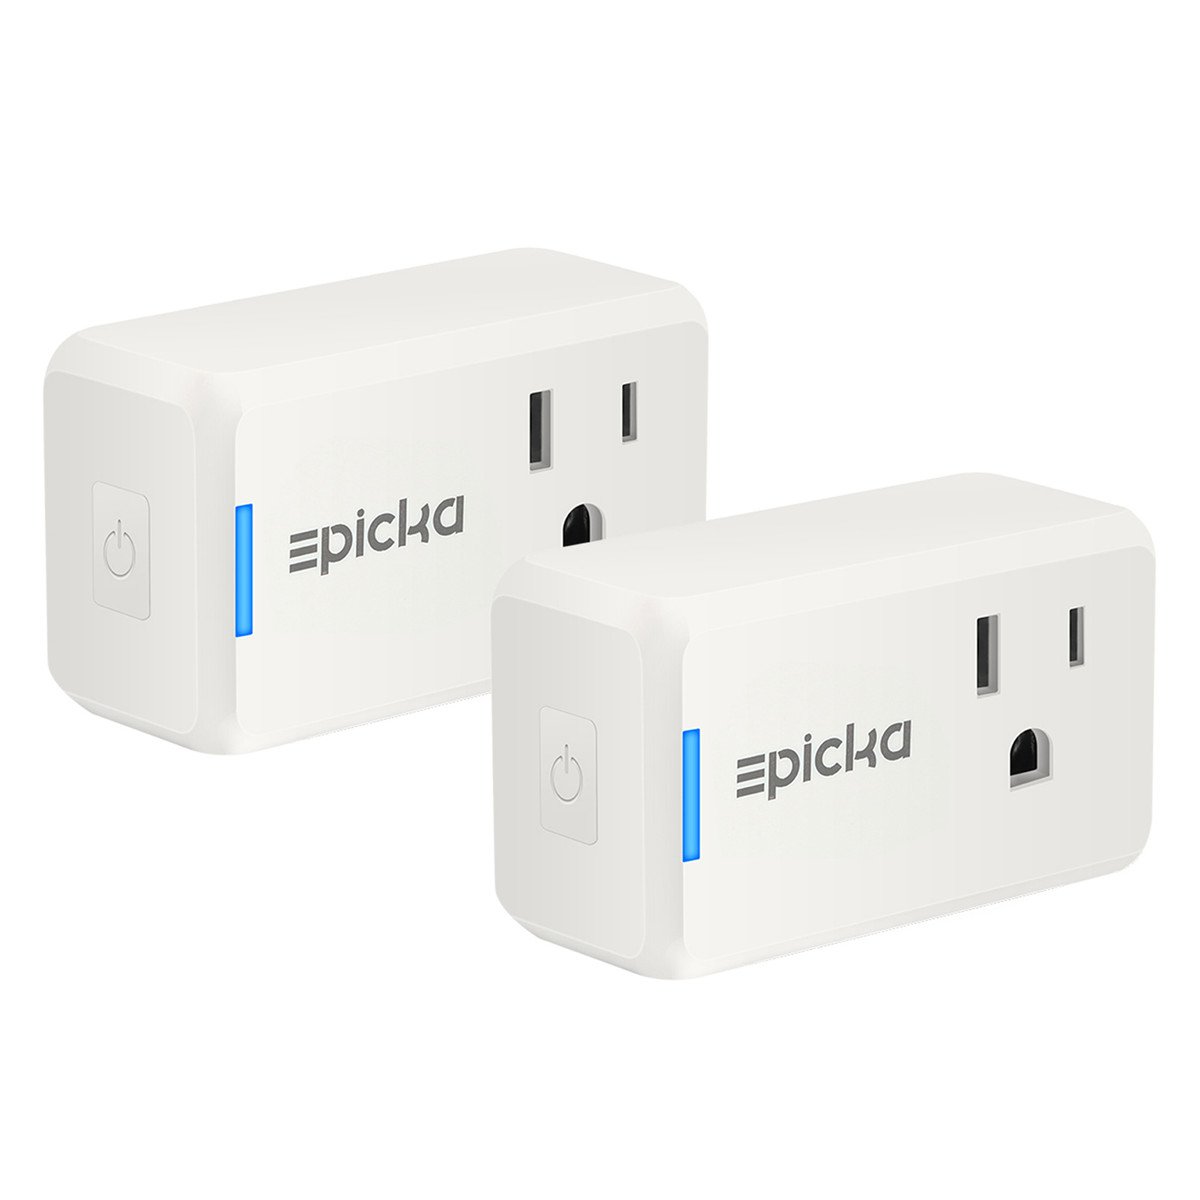
By: Olivia Parker • Home Maintenance
13 Amazing Epicka Wi-Fi Smart Plug Mini 2-Pack For 2024
Introducing the 13 Amazing Epicka Wi-Fi Smart Plug Mini 2-Pack For 2023 – a game-changer in the world of home automation. With its sleek design and advanced technology, this smart plug offers convenience and efficiency like never before. Whether you want to control your appliances remotely, schedule their usage, or...
Read More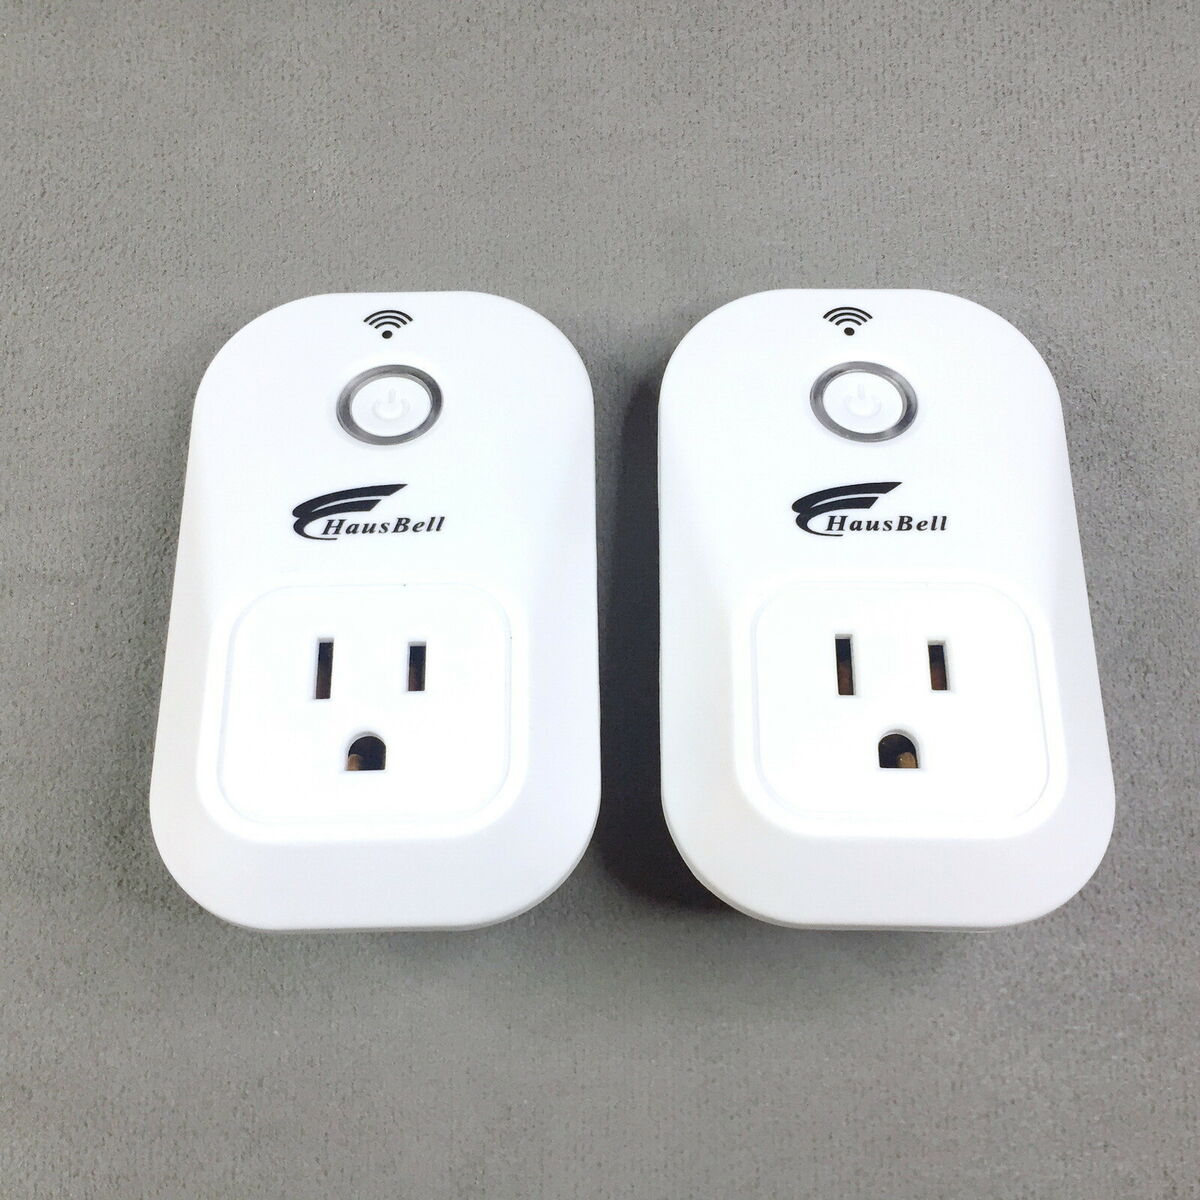
By: Alexander Johnson • Home Maintenance
13 Best Hausbell Smart Plug For 2024
Introducing the 13 Best Hausbell Smart Plugs for 2023 – the ultimate guide to finding the perfect smart plug for your home automation needs. In this comprehensive review, we have curated and tested the top-notch Hausbell smart plugs available in the market to help you make an informed decision. With...
Read More
By: Henry Campbell • Home Maintenance
13 Amazing Air Conditioner Smart Plug For 2024
Introducing the 13 Amazing Air Conditioner Smart Plug For 2023. As the world becomes increasingly connected, technology continues to simplify our lives in unimaginable ways. With the advent of smart homes, controlling and managing appliances has never been easier. In the realm of air conditioning, smart plugs have emerged as...
Read More
By: William Harrison • Home Maintenance
9 Best Yte Smart Plug For 2024
Introducing the 9 Best Yte Smart Plug for 2023! In a world where technology has become an integral part of our lives, smart home devices are gaining immense popularity. Yte Smart Plug has emerged as a frontrunner in this industry, offering a range of innovative solutions to make our homes...
Read More
By: James Anderson • Home Maintenance
10 Amazing 16A Smart Plug For 2024
Introducing the 10 Amazing 16A Smart Plug for 2023! In today's world, where technology is advancing at an exponential rate, smart plugs have become an indispensable part of our lives. With their ability to control and monitor devices remotely, these 16A smart plugs are revolutionizing the way we interact with...
Read More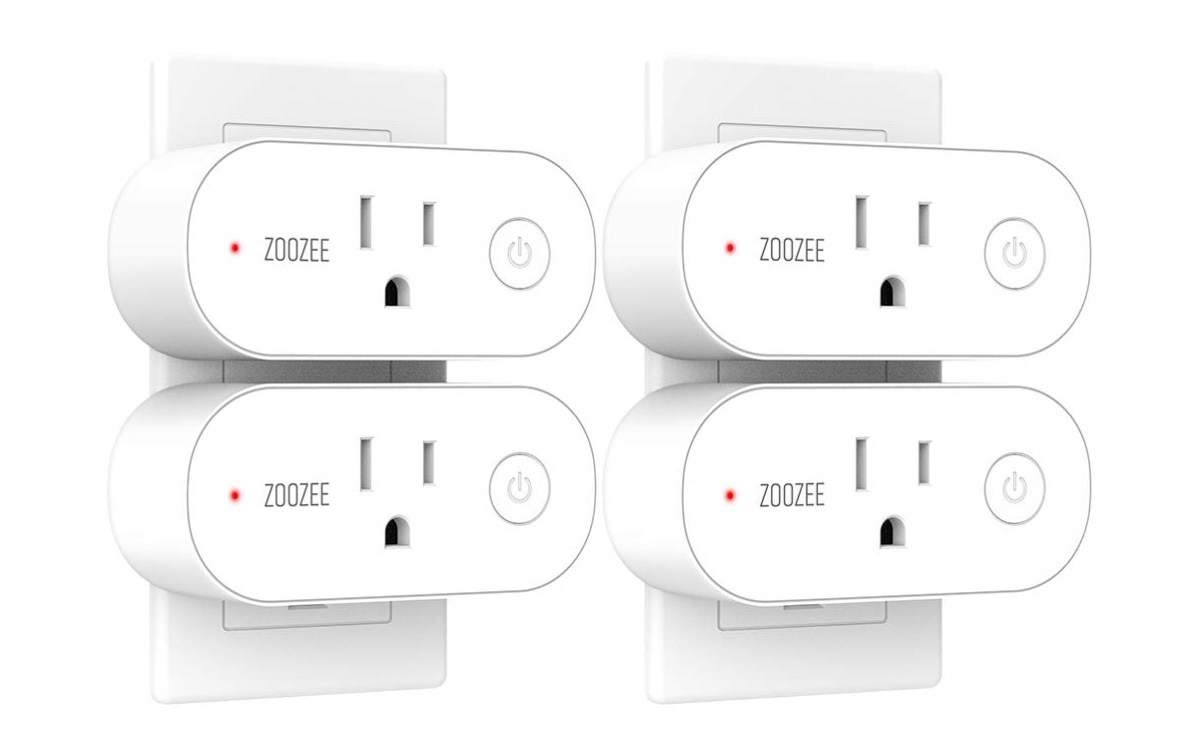
By: Samuel Turner • Home Maintenance
9 Amazing Zoozee Smart Plug For 2024
Introducing the 9 Amazing Zoozee Smart Plug For 2023: Revolutionize your home automation experience with these cutting-edge devices. As our lives become increasingly connected, smart plugs have emerged as an essential component of any smart home setup. With the Zoozee Smart Plug series, you can effortlessly control your electronics and...
Read More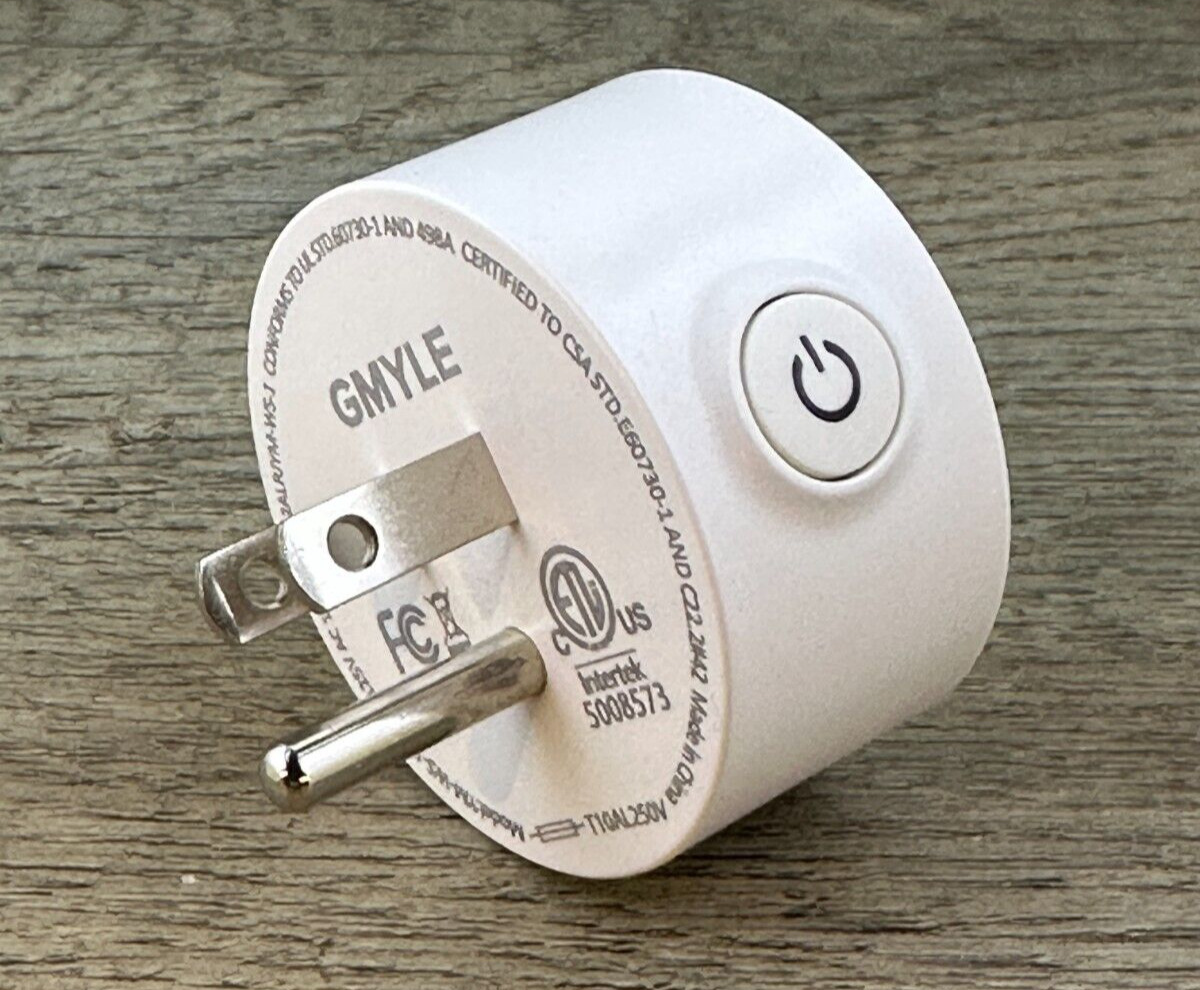
By: Amelia Brooks • Home Maintenance
8 Amazing Gmyle Smart Plug For 2024
Introducing the 8 Amazing Gmyle Smart Plug for 2023 – the ultimate solution to modernizing your home and enhancing convenience. With rapid advancements in technology, smart plugs have become an essential part of our daily lives, offering seamless control over our electronic devices. Gmyle, a renowned brand in the industry,...
Read More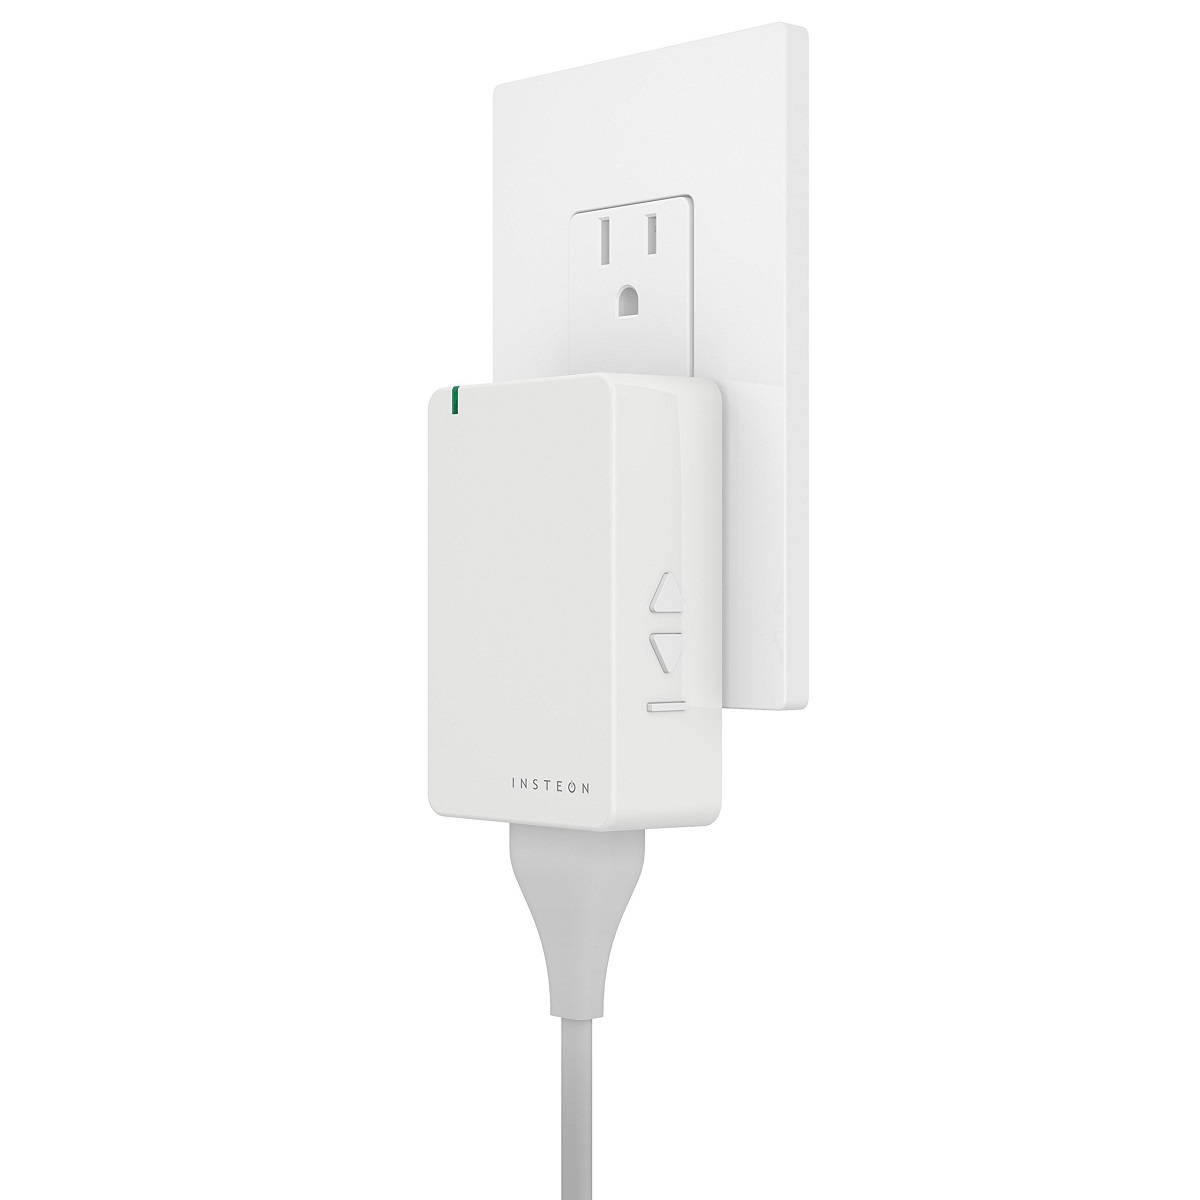
By: Lily Evans • Home Maintenance
9 Amazing Insteon Smart Plug For 2024
Introducing the 9 Amazing Insteon Smart Plug for 2023, a groundbreaking selection of smart plugs designed to revolutionize the way we interact with our devices. With their advanced capabilities and seamless integration into our homes, these Insteon Smart Plugs offer unprecedented convenience and control. From remotely managing your appliances to...
Read More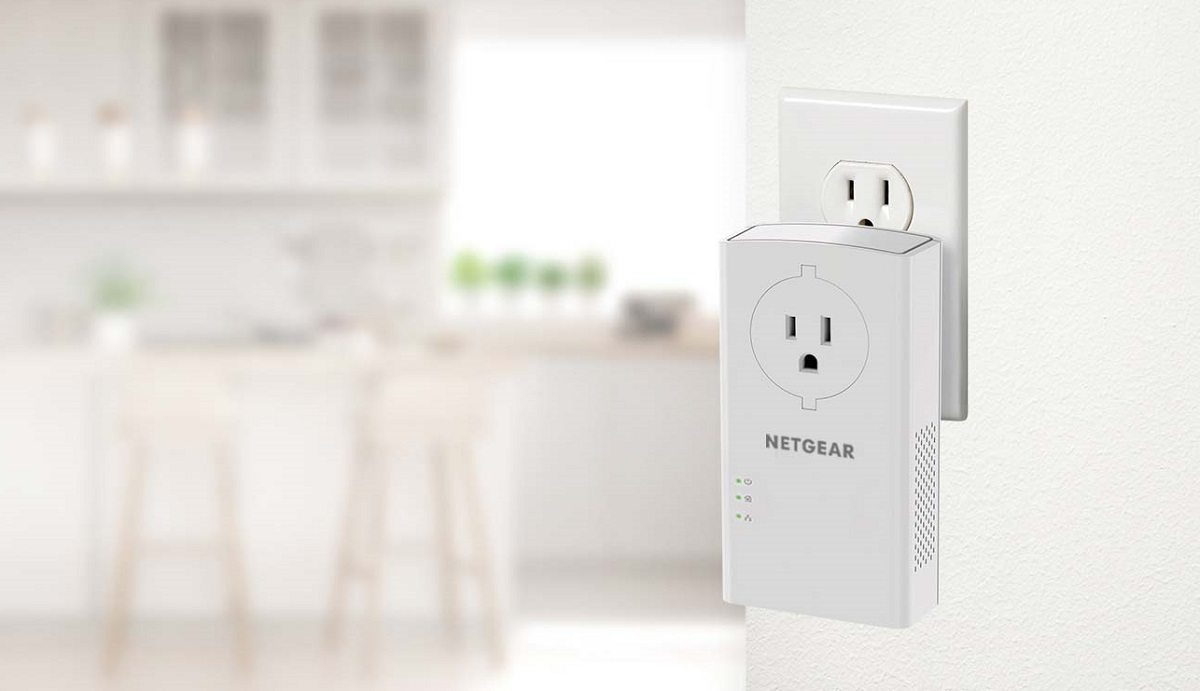
By: William Harrison • Home Maintenance
8 Amazing Netgear Smart Plug For 2024
Introducing the 8 Amazing Netgear Smart Plug For 2023! In today's increasingly connected world, smart home technology has become an integral part of our daily lives. Netgear, a leading innovator in this field, presents a range of smart plugs designed to enhance convenience, energy efficiency, and overall control over our...
Read More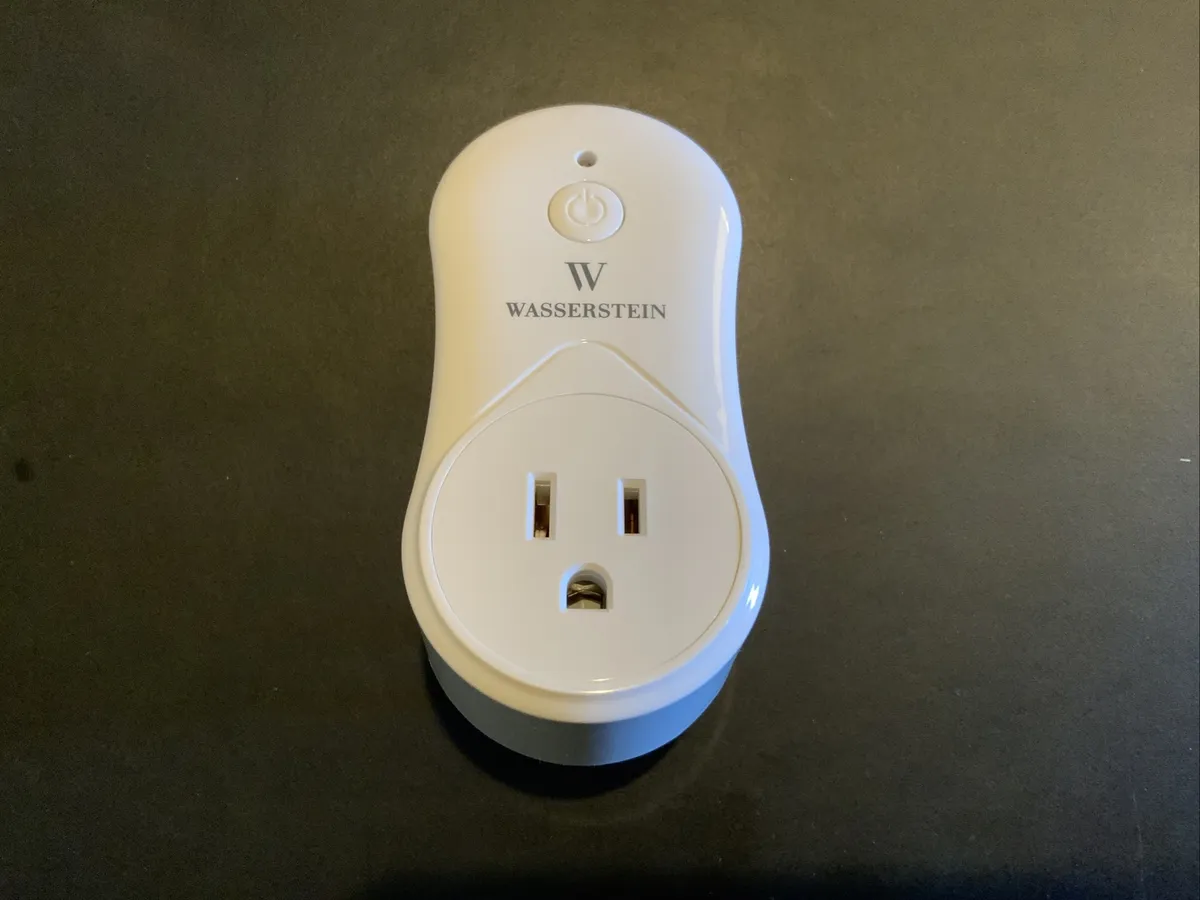
By: Alexander Johnson • Home Maintenance
10 Amazing Wasserstein Smart Plug For 2024
Are you ready to upgrade your home automation system with the latest technology? Look no further than the 10 Amazing Wasserstein Smart Plug for 2023. These innovative devices are designed to make your life easier and more convenient. Whether you want to control your lights, appliances, or even your outdoor...
Read More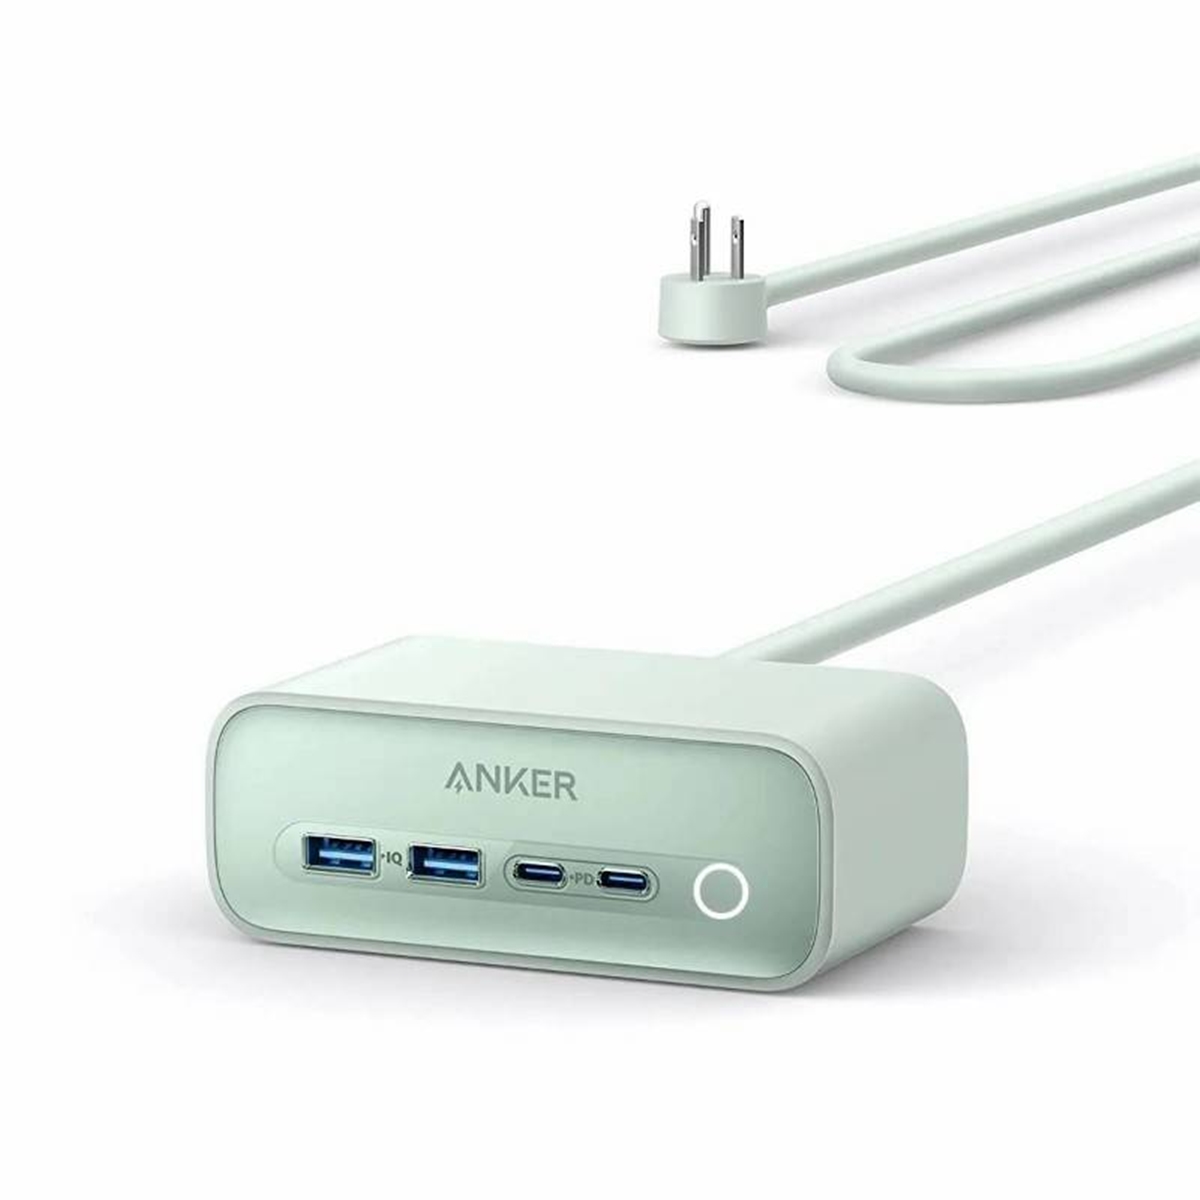
By: Sophie Thompson • Home Maintenance
15 Best USB Charging Station Anker For 2024
Introducing the 15 Best USB Charging Station Anker for 2023. In today's fast-paced digital world, a reliable and efficient charging station has become an essential gadget for tech enthusiasts and professionals alike. Anker, a leading brand in the field, offers a range of top-quality USB charging stations that cater to...
Read MoreFeatured
By: Olivia Parker • 100 Best Bedroom Furniture That Will Make Heads Turn
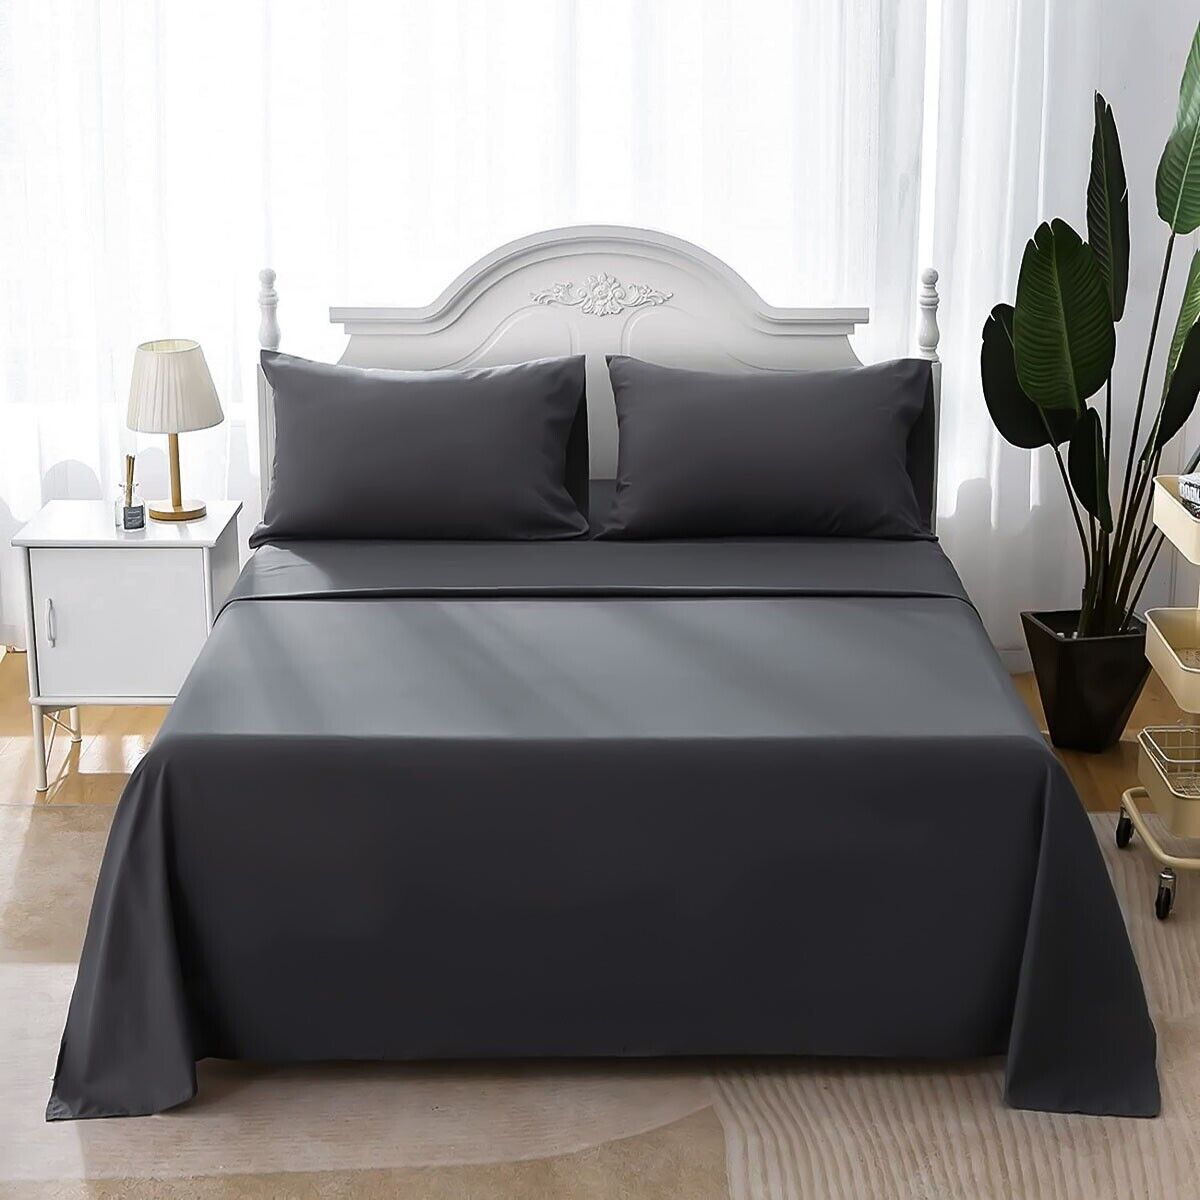
11 Amazing King Bed Sheets for 2024
Read More

By: William Harrison • Articles
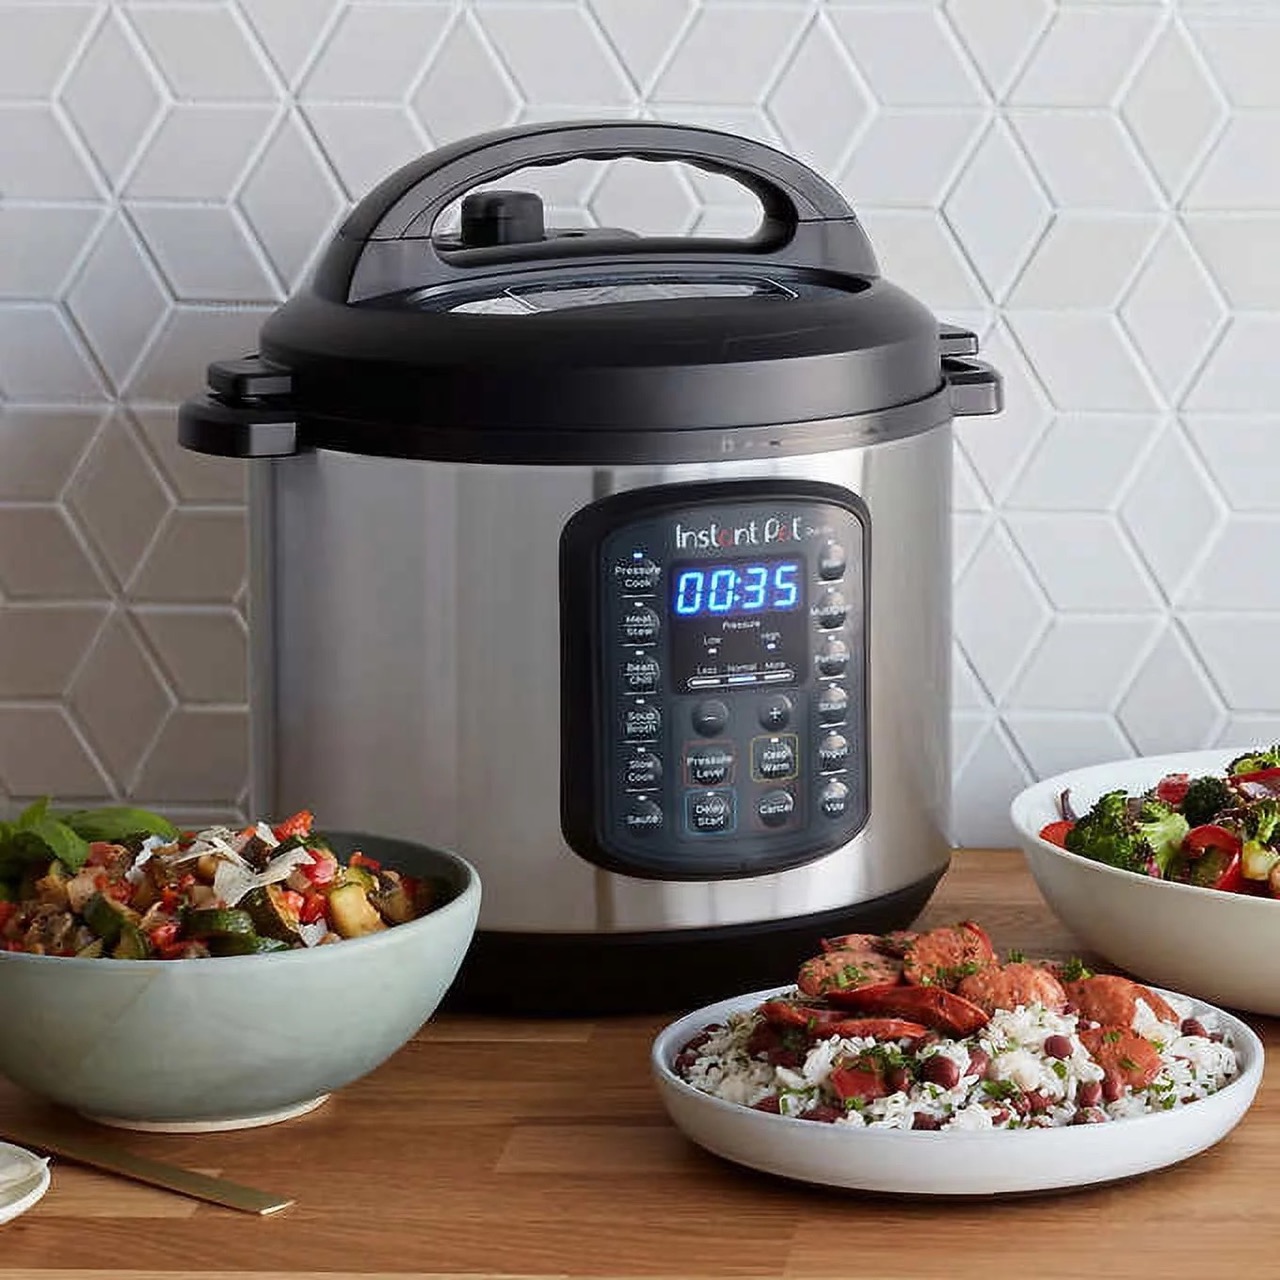
8 Superior Instant Pot Duo Sv 6Qt Multi-Use Pressure Cooker For 2024
Read More
PLEATED LAMPSHADE ARE MY NEW FAVORITE THING
SHOULD WE STAY LIGHT OR GO DARK WITH PAINTING OUR TINY MASTER BEDROOM?